Marble trays are a classic way to create decorative vignettes and layered styling. Use them for oils and seasonings in the kitchen, candles and trinkets in a living space, soaps and lotions in a bathroom, or jewelry and perfumes in the bedroom.
In fact, assortments of any items immediately become a curated collection when placed together on a tray of some sort (it certainly doesn’t need to be marble – find something that best fits your aesthetic). A simple base pulls your objects together visually, providing a sense of organization and meaning.
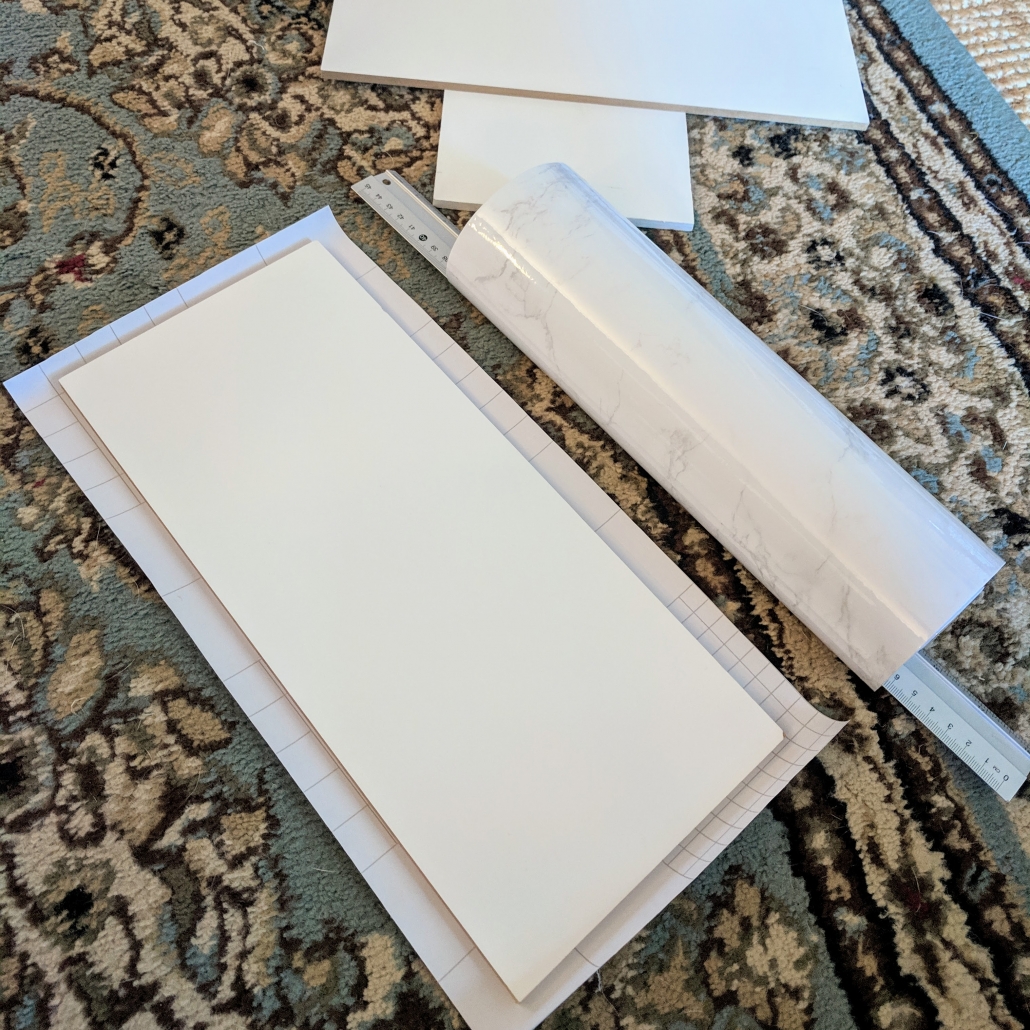
For a quick afternoon project, I used contact paper and some flat boards to make small faux-marble trays for around my house. For $7 and a couple of hours, I call this simple DIY a success. The boards we’ve had for ages – I assume they came from a small shelf at some point, but they have long lost their original home. They have been used for a variety of random purposes since then! For example, when we still used a dog crate regularly, these were on top to provide an even base for a houseplant. These have been hard-working little boards!
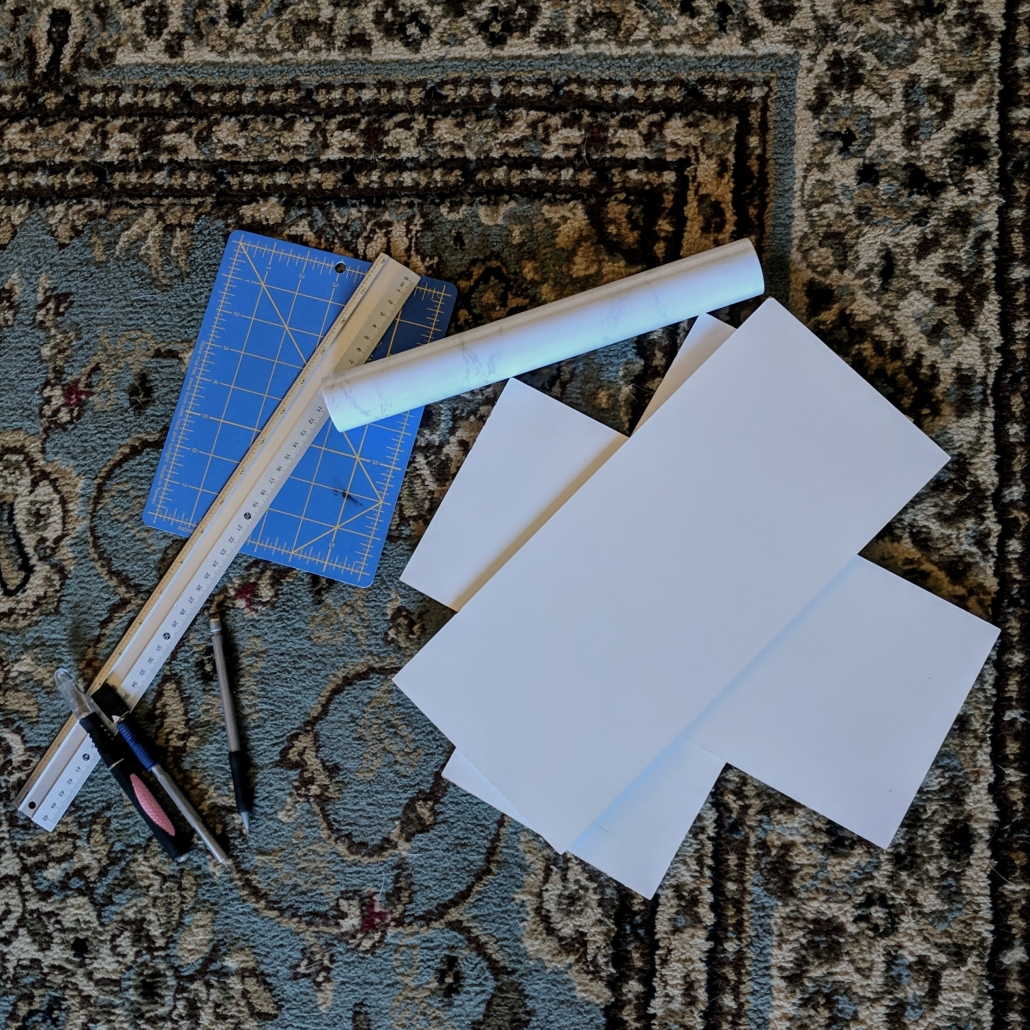
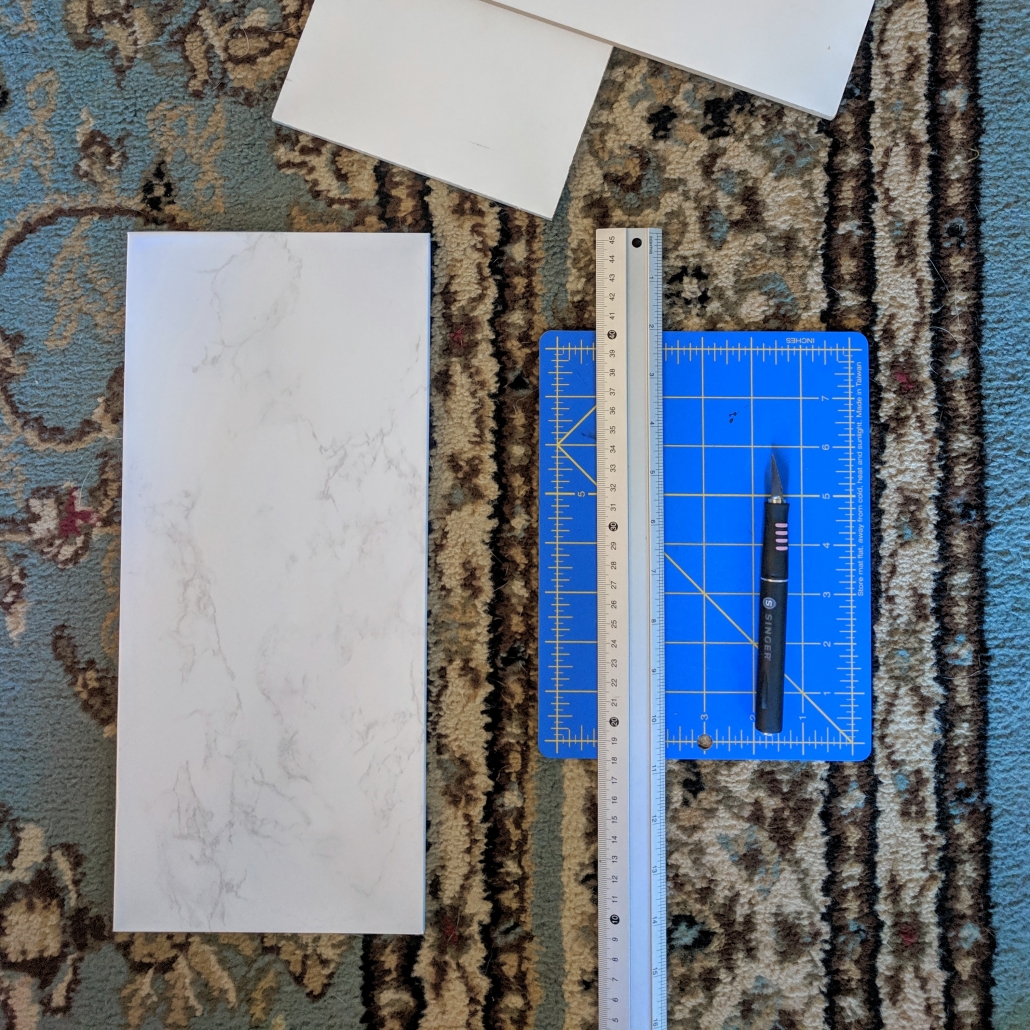
Now, they were free and ready for a new life as decorative pieces. I thoroughly cleaned each one before starting. I wasn’t concerned about doing both sides (seriously, this is a $7 project, it doesn’t have to be perfect), so I cut the contact paper to overlap about an inch. Later, I pieces together trimmed pieces to cover all three backs.
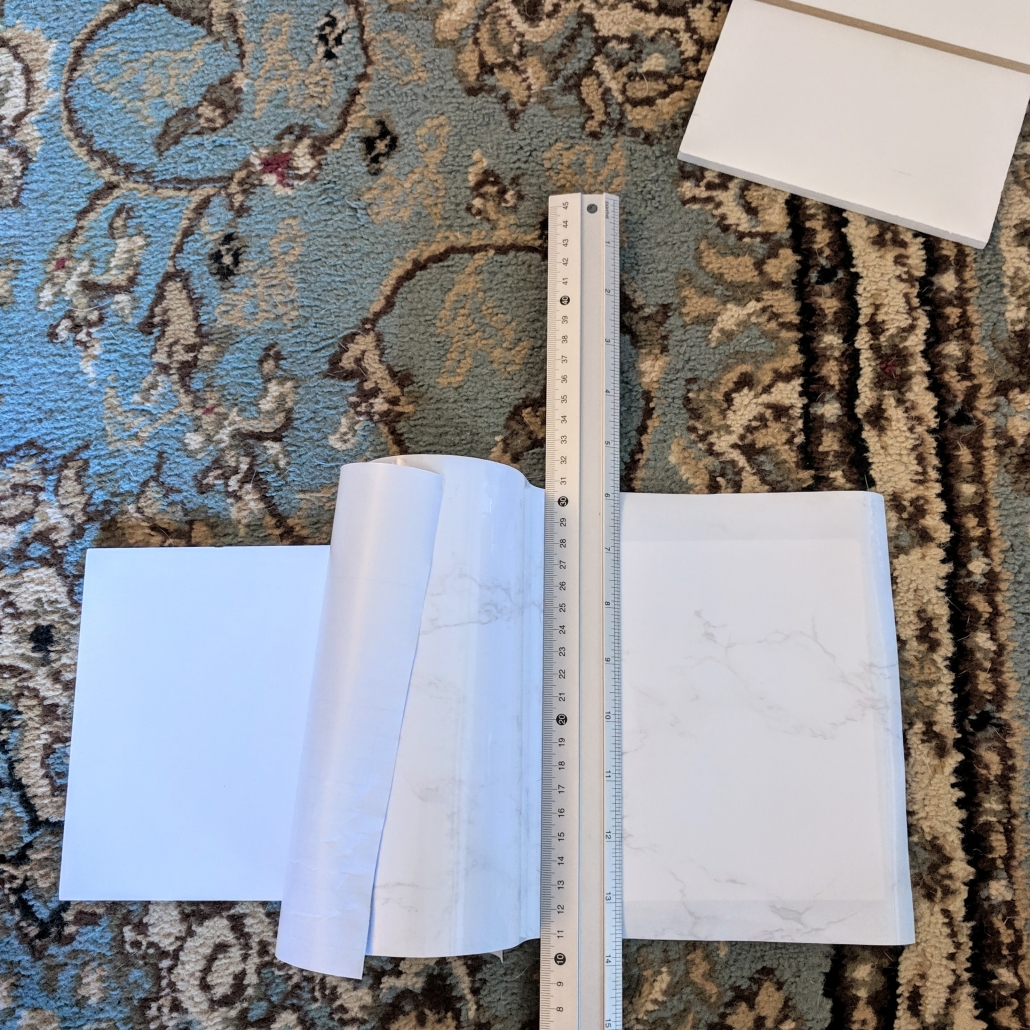
Use a ruler or similar stiff object to apply the contact paper. This smooths out any bubbles as you go. (You may notice the marble isn’t applied perfectly straight! Again, I wasn’t too concerned about being perfect, though I did adjust this specific piece before putting it on completely.)
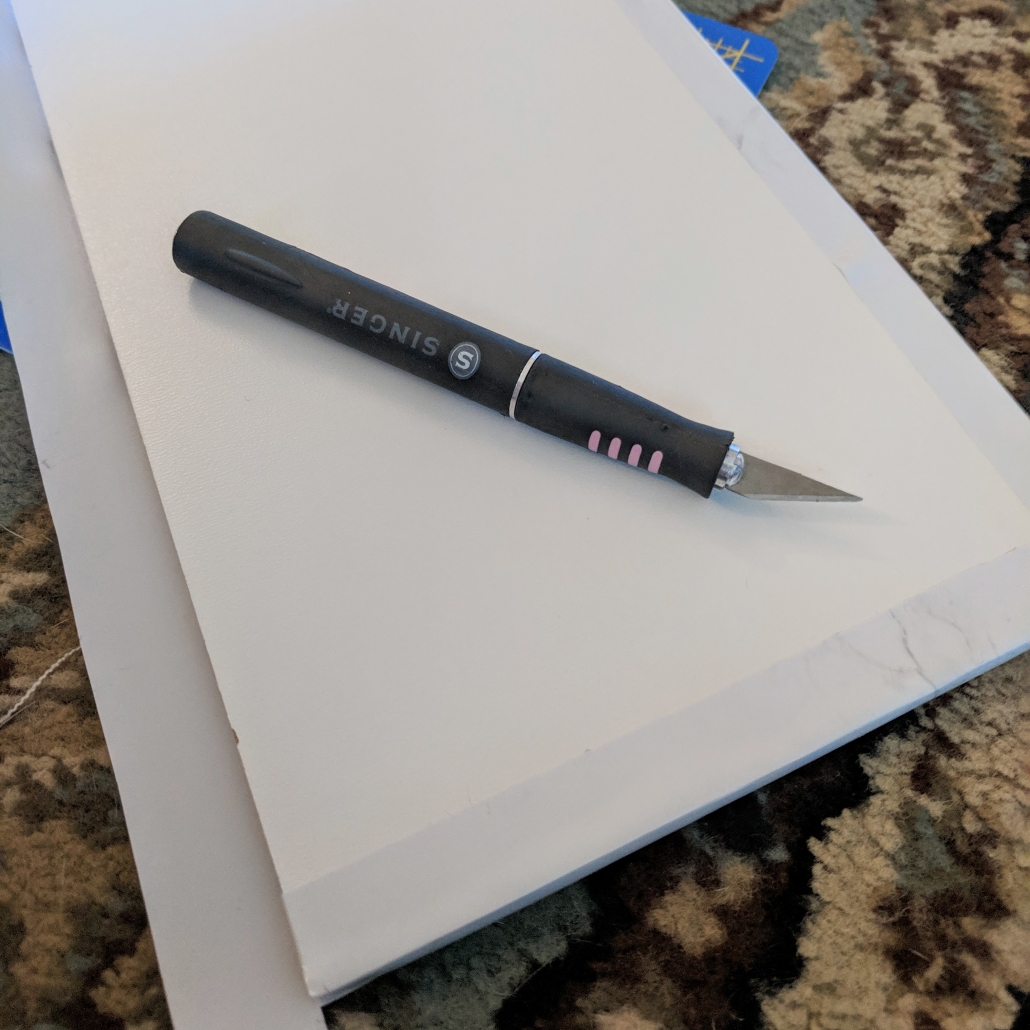
Then I cut each corner as I folded the edges over. I actually did each one slightly differently, depending on how much paper I had to fold at each corner. I suggest overlapping around the corner in some way so you don’t end up with gaps between the pieces of contact paper.
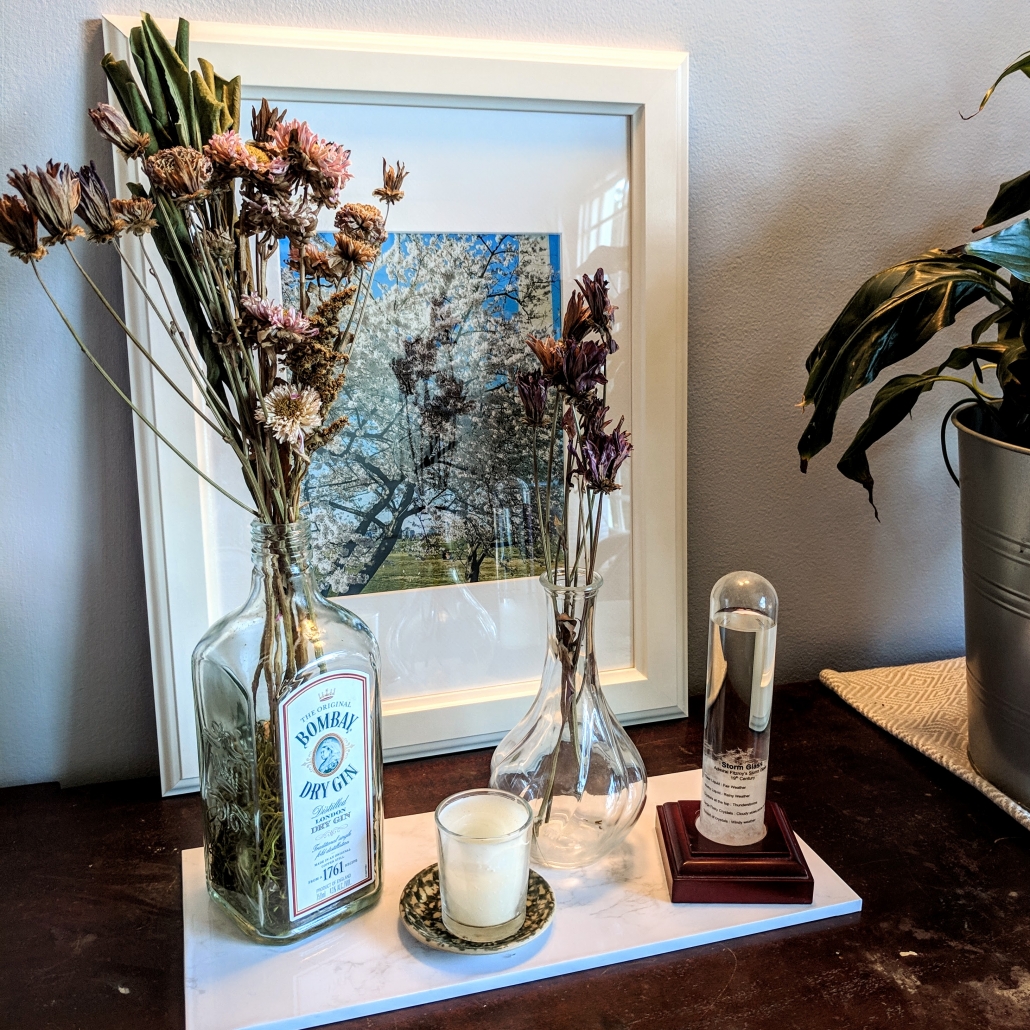
Now to style! Dried flowers are one of my go-to’s, I love them so much. I like to pick up $4 flowers from Trader Joe’s and hang them to dry after enjoying them for several days.
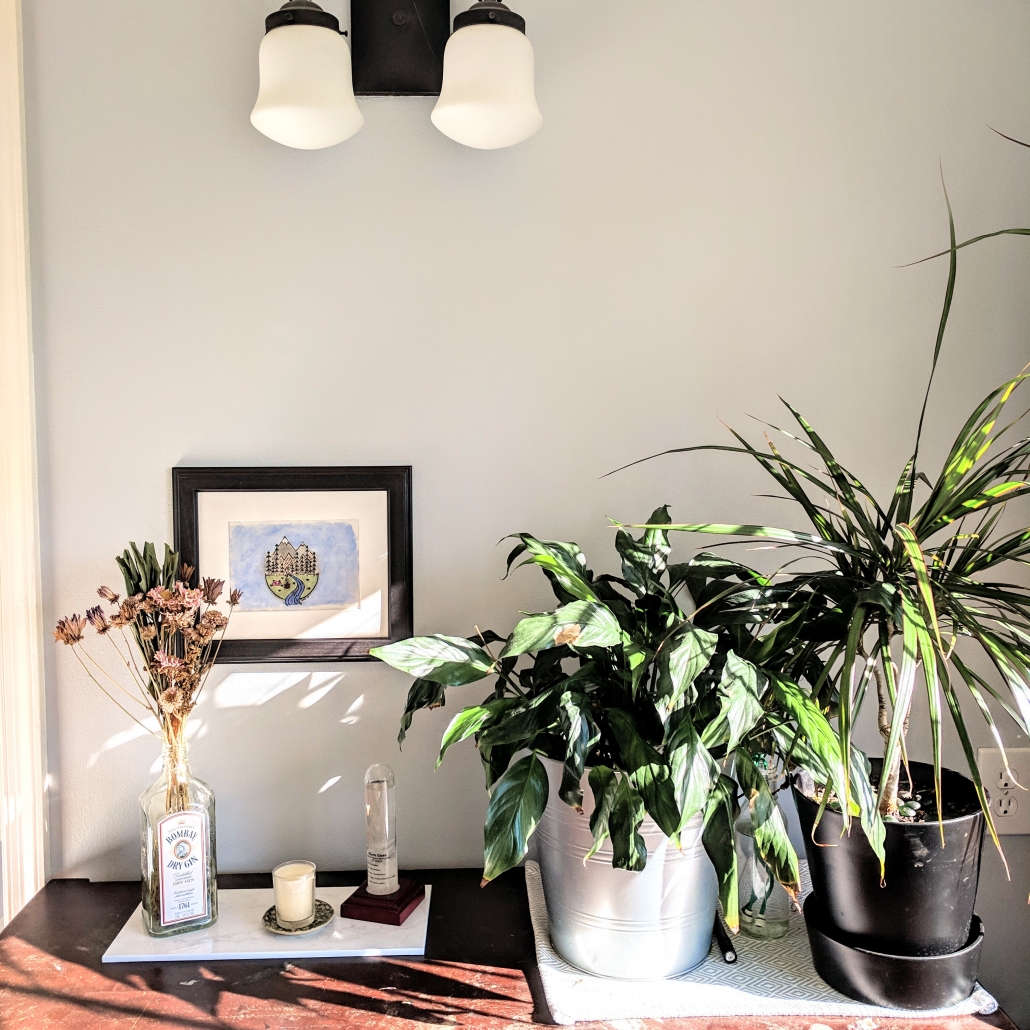
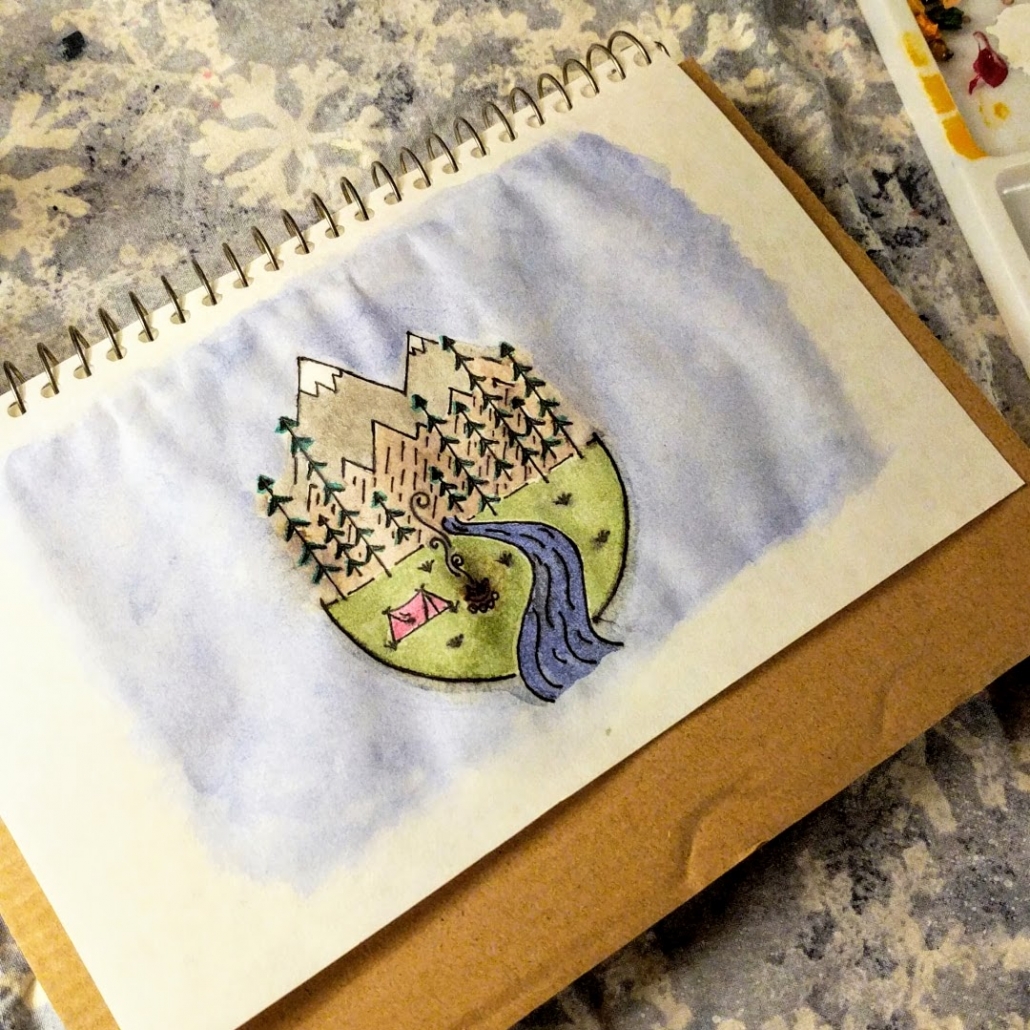
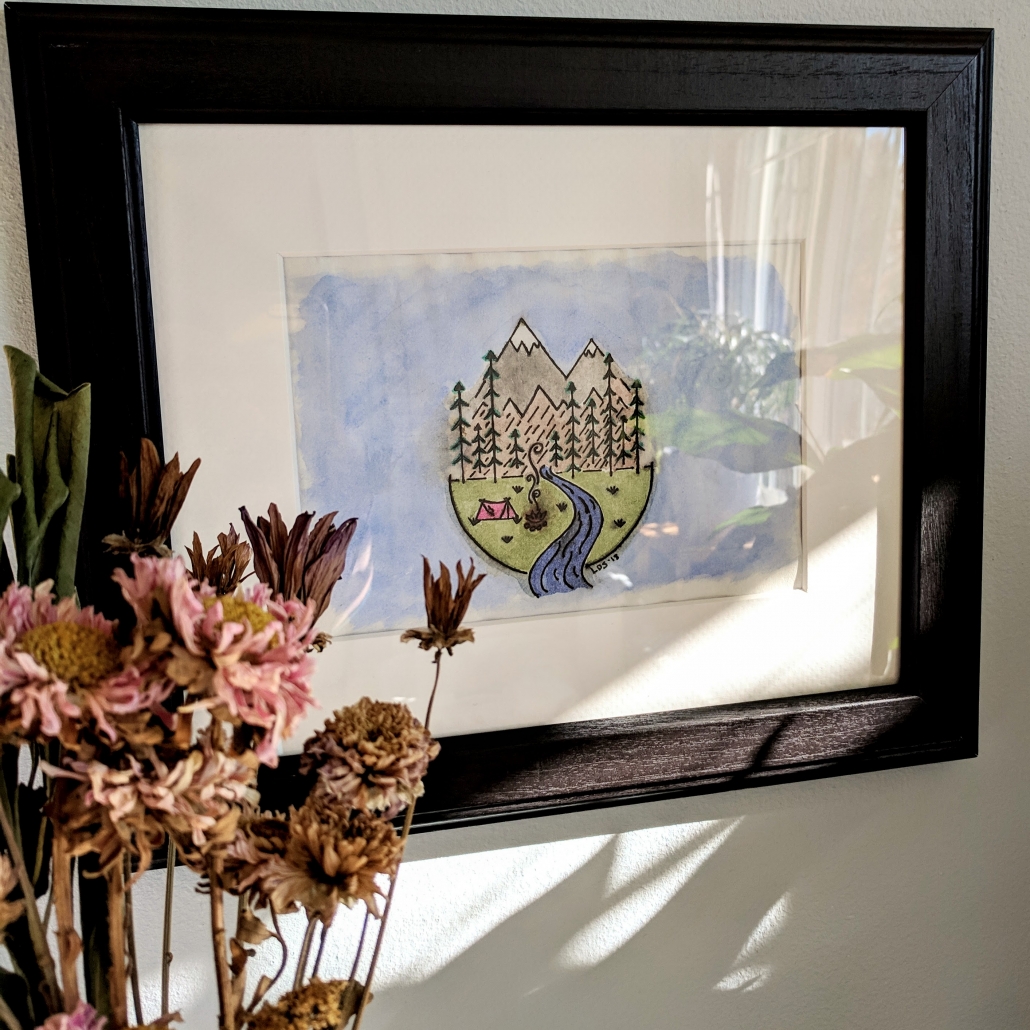
I primarily wanted this on one of our bedroom dressers, and I updated the art from the top photo about a week later. Inspired by sketches on Pinterest, I first drew this camping scene without real plans for using it. Then I decided it needed some color! I pulled out my paints for the first time in months for a simple watercolor.
I want to mention a specific thank you to artists who share their work online! I am a novice exploring painting as a refreshing hobby, so I get all of my ideas and instructions from skilled painters who post on social or websites.
So there you have it! The other two trays are currently in two of my bathrooms, but I’m not sure where they’ll eventually land. For now, it was an easy way to bring some texture and interest.